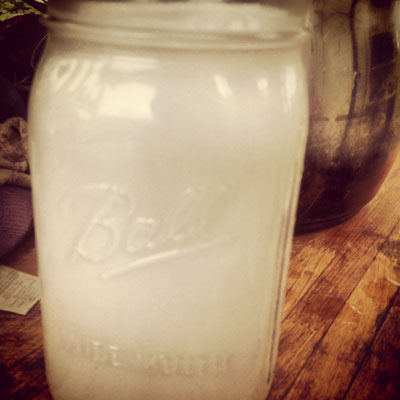
Homemade Coconut Milk

image_2Unfortunately canned coconut milk contains a little more than coconut and water these days. Stabilizers such as guar gum and industrial chemicals like BPA, which is an endocrine disruptor, leach their way into our bodies and do little good and quite possibly some harm. And why buy canned when on the Garden Island we drive as many coconut trees as we would any other kind of tree.

Fresh is definitely best, and though making coconut milk is a labor of love – getting that hard mature meat out of the shell takes tools, time and determination, the process is well worth it. The product is even more so. Use in curries, desserts and for drinking. Stay tuned now that I have a pile of beautiful eggplant sitting next to me and a jar of this fresh milk I made yesterday as I’ll likely be posting a curry in the next day or so!

Fresh Coconut Milk

Dietary Gluten Free, Vegan, Vegetarian
Meal type Beverage, Condiment, Dessert, Snack
Misc Child Friendly

Ingredients

  • 2-3 old/mature coconuts
  • roughly 3 cups of hot water

Note

So let's say you have a small pile of mature coconuts lying around. They are browner and a bit "older" looking than the ripe green ones who's insides probably lend a sweeter, lighter juice and a more jelly like interior (not so good for making milk). The task may appear daunting but with a bit of (wo)man power and a good machete, you'll be cracking in no time.

Start by positioning your coco on a flat, or even better, a concave surface. It's best done on a patch of grass or on a stump specific for the job. If you haven't already gotten the juice from the nut yet, chop away at the pointy end. Chop and peel with the machete until you've cut away to the inner, harder nut. It takes a couple good hard hits until the white meat is revealed and once it is, stop, cut open carefully by making a little triangle with you knife and give the juice a taste for palatability. Sometimes if the coconut is too old the juice will have become sour. Pour into your garden or into a planter if that's the case.

Be careful and patient now. Whack at the flattest surface first, and then keep rotating the coconut hitting each side (there are three) until the whole nut opens. Wait to clean the meat until it's out of the shell. Take a small sharp knife and the back of a good sturdy spoon. Start by cutting into the meat, scoring down to the shell as you would cut into a mango - but bigger chunks. Using the back of the spoon, try and get underneath a little of the meat and then press in. Depending on the age of the meat, it might just pop out. If not, keep working in small bits. Eventually you'll get the whole thing.

Rinse the meat once you've extracted all of it and put on your work surface and chop into small thin chunks. They're ready for making milk now.


Directions

Step 1
Take your chunks of coconut and place in a high speed blender. Make a kettle of water and remove from heat before boiling. If it starts to boil, give it a minute or 2 to cool down. Pour over coconut meat and let sit in blender for 5 minutes.
Step 2
Blend on high for a couple of minutes. In the meantime set a piece of cheese cloth over a colander inside a bigger pot. After blending, pour into the cloth lined colander and allow to strain for several minutes. Maybe 20.
Step 3
After a few minutes of straining you'll be able to pull in the sides of the cheese cloth to cover the coconut meat that is still straining and place something heavy on top to help push even more milk out into the bottom. You might want to pour what has been extracted into a jar so you don't interrupt the process.
Step 4
After a little while - this is sort of a set and forget kind of project - come back and put your milk into a jar and use at your leisure! So ono!